


Author:AXYZ DESIGN
Date:2013-07-31
SCALING METROPOLY CHARACTERS
Before you start populating your project with Metropoly 3D Humans you must be sure that the characters and your scene use the same working units.
1. Open a character in 3DS Max.
2. On the Main menu go to "Customize" and select "Units Setup...".
3. Inside the "Units Setup" window set "Display Unit Scale" to your drawing unit. Click on "System Unit Setup" button and repeat the operation.
4. Go to "Select by name" and click on the character's root. (Ex: CMan0011-M4-CS_Hips).
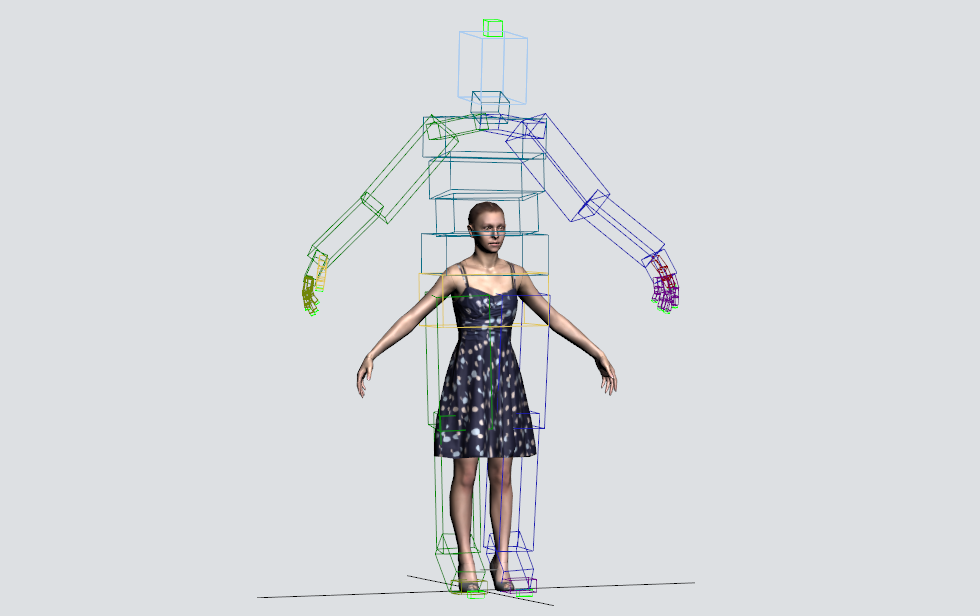
SCALING SKELETON:
5. Go to "Modify" and inside "Skin" uncheck "Always Deform" in the advanced parameters option.
6. Go to "Motion" and select "Figure Mode" inside the "Biped" rollout menu.
7. Inside the "Structure" rollout menu modify the character's height.If the character is 1,688m you must enter: 1,688m x your drawing unit. At this point you have the scaled Biped with the mesh in its original size.The next step is to scale the mesh.
SCALING MESH:
9. Select the character's mesh and in "Hierarchy" select "Pivot" and click on "Afect Pivot Only" button. Click on "Select and Move" tool and type: Z:0,0The Mesh scaling factor will be:1,82m - 71,65in 100% 3937%
10. Go back to "Modify" and inside "Skin" check "Always Deform" in the advanced parameters option.
11. Save your scaled character. You can now merge it into your scene without problems!


